 |
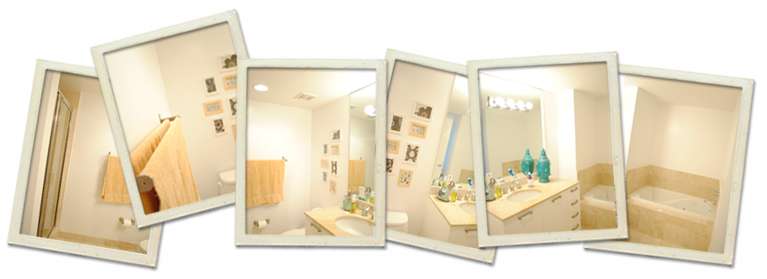
| The before picture of my bathroom reality. It will get better, I promise |
Well, I felt like that a couple of days ago and it was just because I knew I had a great project to do and the best part; I had the Superhero power tool for the task ahead.
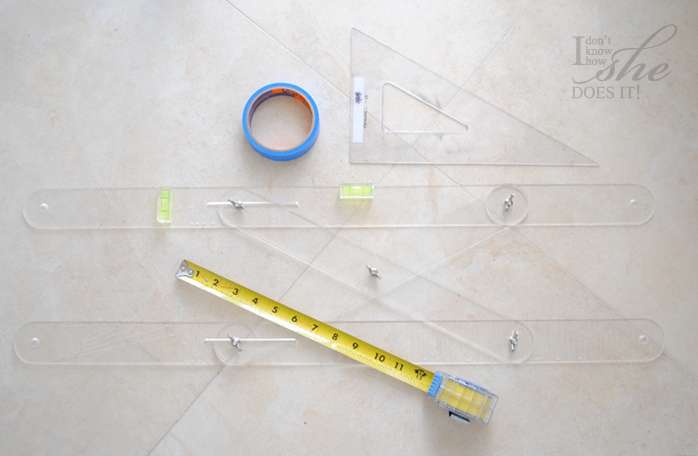
Today is my day number one of my kind of a bathroom renovation. And when I say kind of is because the place I live in is a rental and my design interference should be kept to a minimum. I know for sure I can handle this and, as I said on my previous post: challenge accepted. On this day I’m going to be transforming one of the bathroom walls with this new and innovative device called U-Stripe It & Design tool. Phill Menendez, the distributor of this wonderful tool, saw my Chevron painted wall and kindly offered me to try his product and see how easy and fast it was to create intricate designs on the wall (while cutting the job in half the time). How could I say no if this tool was going to make my wall design task much easier!
I knew for sure that the U-Stripe It was in for a ride because I’m a tough cookie and will not settle for straight lines. With this in mind I started looking for some ideas of patterns. Here are some interesting designs.
 |
| 1. Orangerie 2. Pembroke 3. Fretwork 4. Honeycomb |
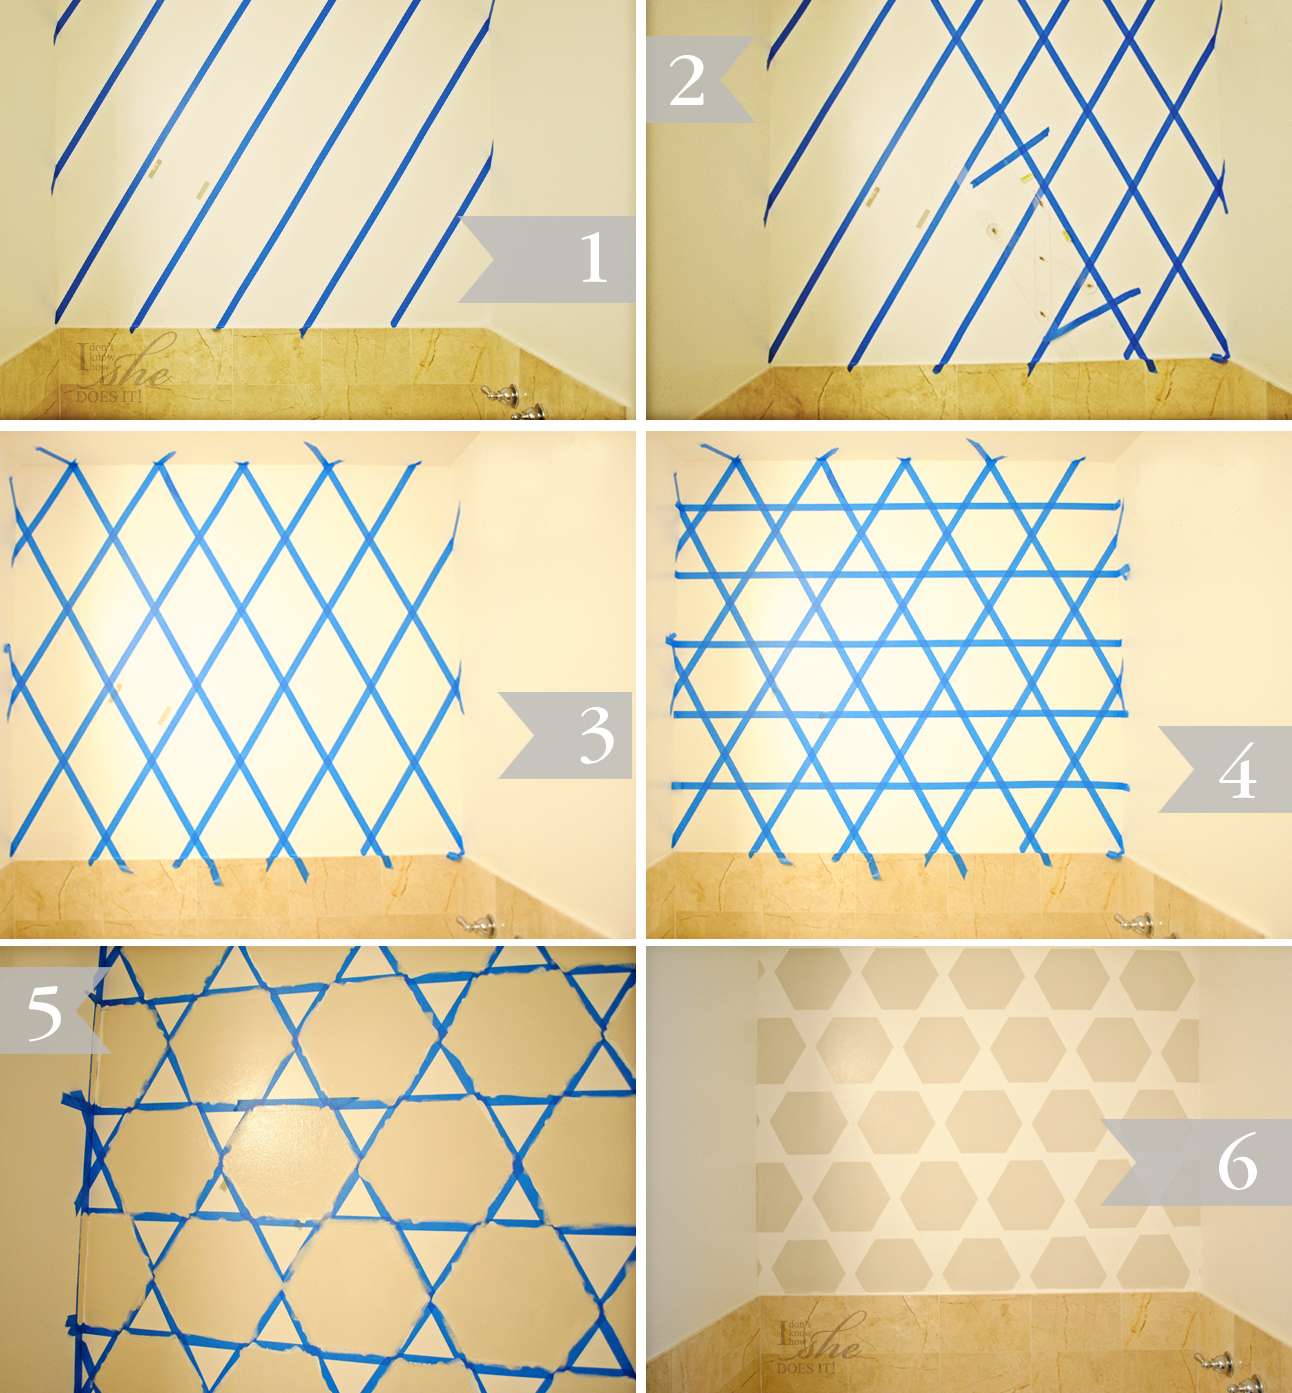 |
| 1. Start with the diagonal lines after deciding on the degree of the angles. 2. Continue making lines on the opposite side of the previews diagonal lines. See how well the tool assisted me on the job. 3. It’s starting to look like diamonds. 4. Finish with the design. Now they look like stars. 5. Now paint. 6. The end result are my beautiful hexagonal figures. |
You can buy the U-Stripe It tool on their website or on their Facebook page where they have great ideas with photos.
Look for day number 2 of my bathroom renovation. Now, if only I could prolong the hours of the days or have a Mjolnir (Thor’s mystical war hammer that has been shown to be capable of opening passageways through space and time); wow, the things I would do!
0 comments :
Post a Comment