") |
| The perfect setting for your Halloween party, the "Monster Parade". Photo: Gloribell Lebron |
Finally I get to share with all of you my take on the "
13 Days of Sweet Halloween Treats", a spooky but at the same time, fabulous blog-hop hosted by
Jo-Ann Fabric and Craft Stores and
Wilton. I get goosebumps because I'm posting on the 13th of October (fingers cross for good luck!). Hope you enjoy my projects and that you get inspired not just with my treats, but with all the other bloggers' delicious creations. To take a peek at the list of bloggers by date, click
here.
Between monsters and skeletons
Using a store bought cake mix, I transform their typical form into these monster eyes spooky cakes. Instead of using the 8"x 8" common pan size, I use the
Wilton mini angel food cake pan. Following the instructions in the box, I made these ahead and let them rest until room temperature. Because I had some mixture left, I use it for making cupcakes that will later be turned into skeleton chocolate graves.
After these cakes were done, I cut off the tops and, while they were cooling, I prepared my skeletons for the cupcakes. In a
Candy 3D Skeleton Bones mold from
Wilton, I pour some
Wilton Candy Melts (previously melted following the instructions on the package) and placed the tray on the freezer. After about 20 minutes they were ready to be pop up easily.
") |
Remember to cut that pop out part from the cakes (left). White chocolate skeletons ready to be half buried (right).
Photo: Gloribell Lebron |
For the gooey stuff over these cakes, I prepared a basic sugar glaze (a recipe from Wilton
here) and divided it in 2 batches. On one of them I pour some red food coloring. Carefully I drizzled over the cakes (now with the cut side to the bottom) the white glaze, letting it drip over to the sides. Afterwards I did the same with the red glaze. To finish it all I added the Wilton candy eyeballs and "I've created a monster"!!!
") |
Skeletons that seem to pop out of cupcakes and dripping oozing cakes with red eyes?!?!? Yes, please.
Photo: Gloribell Lebron |
For the cupcakes, I made some basic chocolate frosting and crumbled some chocolate cookies to make the dirt effect. Over it I place the white chocolate bones and we have the sweet reenactment of the "Night of the living dead"!
Because the parade was incomplete, I also made some caramel candy apples and decorated them with
Bone Sprinkles from Wilton. In some plastic lab tubes, I made a
Chocolate Mousse and Chocolate Cookie Crumbles (Tierrita Dulce) dessert. The vanilla mousse in this recipe (click the link above) got its slimy color with a bit of green food coloring. For an added spooky touch, I did a couple of bat sugar cookies using the
Wilton Halloween cookie cutter.
") |
These lab tubes were incomplete until the word DEAD was stamped with blood (well, not really, but red ink will do)!
Photo: Gloribell Lebron |
I just love
Halloween and this entire blog-hop has been
spook-tacular. Please remember to visit the rest of the creative bloggers whose projects were awesome. Also, during October 15-30,
Jo-Ann is going to launch a contest to select your favorite food-craft. So if you like what you've seen here, please vote for my creations
here (or click on the image of below).
And, because I know you are
dying to run to
Jo-Ann with so many inspiring ideas,
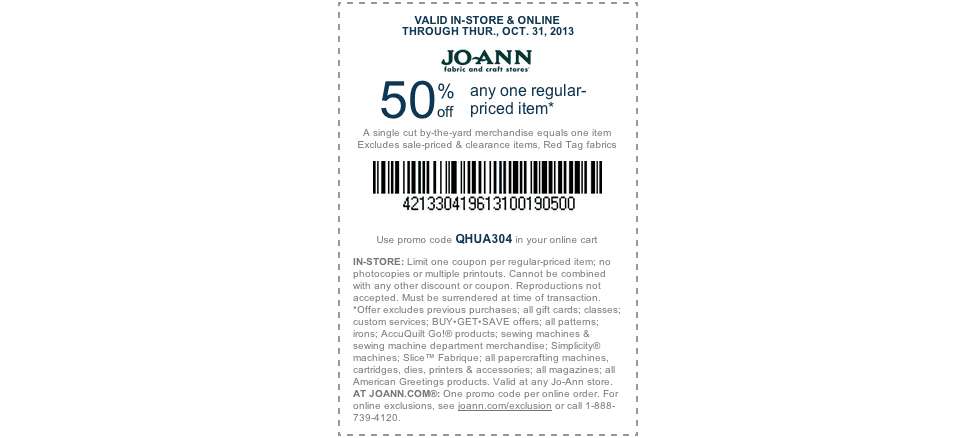
here is a coupon to take with you on your next visit (valid until October 31, 2013).
This is a short description in the author block about the author. You edit it by entering text in the "Biographical Info" field in the user admin panel.
")
")
")
")
")

0 comments :
Post a Comment